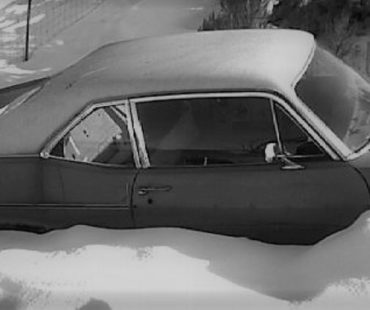
The two biggest enemies to our car hobby (besides thieves and the meddling bureaucrats) are Mother Nature and Father Time. In a sense, these two factors are joined at the hip working against us: Mother Nature, since she dishes out all the harsh elements—from cold and wet to hot and dry—and Papa Time, since he ultimately contributes to the death of all things. It’s true that once something is made, it immediately begins to deteriorate.
With regard to our beloved Nova’s, weatherstripping is the one area most affected by the criminal elements described above. Rubber was used in a plethora of places on the Deuce—from the doors to the windows and the heater box to help seal out moisture and wind. But over the course of these cars’ lives, most of the rubber seals and weatherstripping has fallen victim to the rigors of hot and cold temps. End result: leaky doors and windows.
Holding Off the Threats of Mother Nature and Father Time
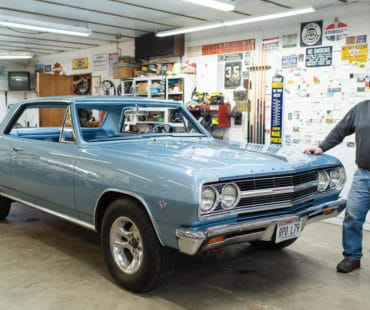
The solution, of course, is to replace these consumable parts. There are plenty of manufacturers in our market (and we carry a complete selection) that make good reproduction parts. Most are exact replacements for the originals. Some of the window weatherstripping, commonly known as “fuzzies,” appear different than the originals, but they will work just as well as those from the factory.
When doing a restoration, the first place to consider replacing the weatherstrip seals is around the doors and the window frames. Most original rubber, if it hasn’t fallen off by now or been replaced before, has long since lost its elasticity, therefore rendering it useless.
A rubber seal that has dried out is like a hard, crisp piece of toast, it doesn’t take any effort to crumble. You’ll encounter this when you go to replace it. Use a good scraper, such as those found at Sears or Snap-On. Using the scraping tool and/or a stiff wire brush, you’ll want to make sure you remove all of the old debris, and it’s advisable to use a solvent such as mineral spirits or lacquer thinner to clean up once the old rubber is removed, and then use primer on the area that the seal attaches to. Don’t leave it bare metal, that’s just inviting rust.
Applying the weatherstrip is a simple job, yet there are things that you must pay attention to.
Use of a good weatherstrip contact cement (such as that from 3M), is one thing you’ll need. Also, be sure that the clips that hold the new rubber in place fit snuggly in the existing holes in the door. Some ’63 Novas had holes that were too big for the replacement weatherstrip’s push-in clips. If that’s the case with your car, I have a solution: simple plastic sleeves that are designed to push down the hole’s diameter so the clips fit snug will help.
Once the contact cement is applied to both the rubber seal and door sheet metal, it is important to apply the weatherstrip consistently and with firm pressure. We use a little painter’s tape to hold it in place until the glue sets up.
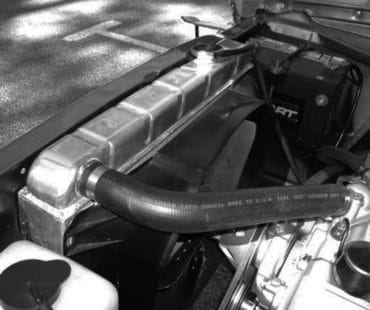
Fitting the new weatherstrip in the window channel is a little more involved. Early Chevy II Coupes (without window frames) had a stainless steel trim piece that fit in the body’s window channel. (Sedans and wagons had the weatherstrip glued to the existing window frame.)
The new rubber seals sort of shoehorn into this channel. First order of business, just like the door rubber, is to clean all of the old dried-up seal. Starting with a clean area is the best first step you can take. Likewise, make sure that the stainless steel is free of any oil or grease as this will help the weatherstrip adhere and prevent water and moisture from getting between the strip and channel. Again, a good contact cement designed for weatherstrip is necessary.
Once you’re done, and the windows and doors are tightly sealed, you’re a leg up on Mother Nature’s fury. Although there are still those fuzzies and wing-vent areas that need to be done, too. We’ll examine their installation soon.


Leave a Reply