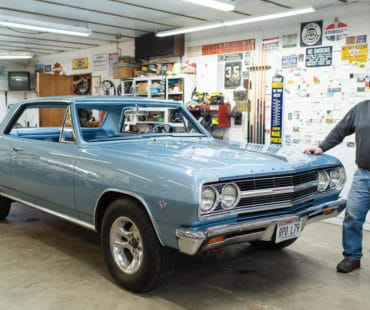
Although the ’68 and up Novas were more structurally sound than their predecessors, they still had a ways to go before they were considered rigid! Until now, the only option has been purchasing frame connectors and cutting your floor panels to make them fit! Hardly the thing you would want to do to a low-mileage car with a big-block in it! Now, there are these new tubular connectors that are designed to be installed without taking a plasma cutter to the floor.
Frame Connectors Were Worth The Wait
Recently we were trial fitting the first prototype weld-in frame connectors for the 68-74 models, and I’m happy to say that they were worth the wait. Here’s how the procedure went.
Before you begin, this is the equipment you will need for the repairs:
- Subframe Connector
- Leaf Spring Front Eye Bushing
- Rear Leaf Spring Shackle Kit
- Poly-Mono Leaf Spring Rubber Pad
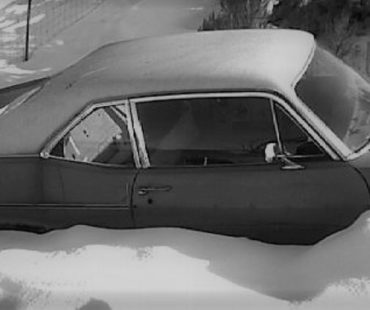
Getting the original three-bolt brackets off of the donor car was the first trick. All six clip nuts broke off inside the body. Next, we got out the cutting torch and a water hose for the fire watch. We still had the interior of the car installed and did not want to take any chances.
It was definitely a challenge not to ruin the factory front eye brackets with the torch. After cutting the head off of all six bolts we were able to remove the factory brackets from the body. After many attempts to get the main center bolt out (it was frozen to the inner steel sleeve of the bushing) that runs through the frame bracket and the front leaf bushing, we decided to cut the bolt in two places.
Between the frame bracket and the end of the bushing is where we decided to cut. This again proved to be more than we bargained for! We used a reciprocating saw to cut through the grade-8 bolts, a few cuts later the brackets were off and on the floor!
Getting the leftover bolts and clip nuts out of the body was tough, too. Short of chiseling a hole in the body, we fished one or two out while the others had to be ground down to get them out of the body.
The next challenge was replacing the front steel-cased eye bushings was almost as difficult! To remove them from the front eye of the rear leaf springs, we soaked them with a good rust releasing agent. We drove two thin screwdrivers between the end of the leaf spring loop and the flat part of the leaf spring to help expand this to release the OD of the steel case of the busing from the ID of the front leaf spring eye, which seemed to help.
We used a two-jaw puller and a washer to push the bushing out. We then wire brushed the inside of the leaf spring eye and coated it with never seize. We then came up with a piece of threaded rod and a pipe nipple with 2-inch ID to use on the flange end of the bushing to pull it back into the spring. We figured whoever put the bushings in last put them in wrong because both sides were installed from the same direction.
We checked a 47K-mile car that we had in storage and both bushings for the left- and right-hand front eye of the leaf spring were put in with the flange of the bushing facing left (driver’s side). It did not appear that installing the bushings either direction would affect the operation.
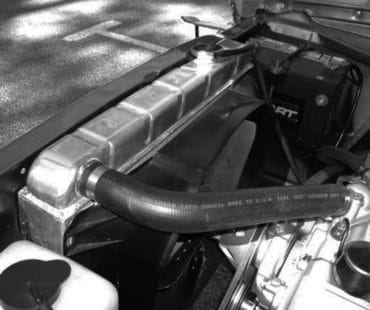
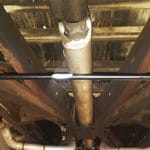
After the bushings were in the leaf spring, we installed the rear portion of the new frame connector. This will be the new home for the leaf spring front eye. We made a box for the assembly to fit in and the bolt to go through for security. Once in, we lined up the front of the frame connector onto the rear of the front frame horn. This position is roughly under the front seat. After the rear bracket assembly is secure, you can pivot the front of the frame connector into position and mark it for welding.
Before welding, don’t forget to have a water hose around and a fire extinguisher. My fabricator chooses to make all frame connectors the weld-in type. Bolt-in frame connectors are not a good option, nor as rigid.
We have not tested these on a `75-`79 car, but it is possible that they may fit this car too! If anyone has a digital camera and wants to try a set, contact us.

Leave a Reply