After traveling in the Chevy 2 Only project car during the Hot Rod Magazine’s Power Tour several summers ago, I was spoiled with modern upgrades. Not being too much into the “race stuff,” I soon realized that race-only parts aren’t just for race cars anymore! There is a broad range of “in-between stuff,” I call it, which falls in the category of equipment designed to help modernize your stock driver without making it look too racecar-ish.
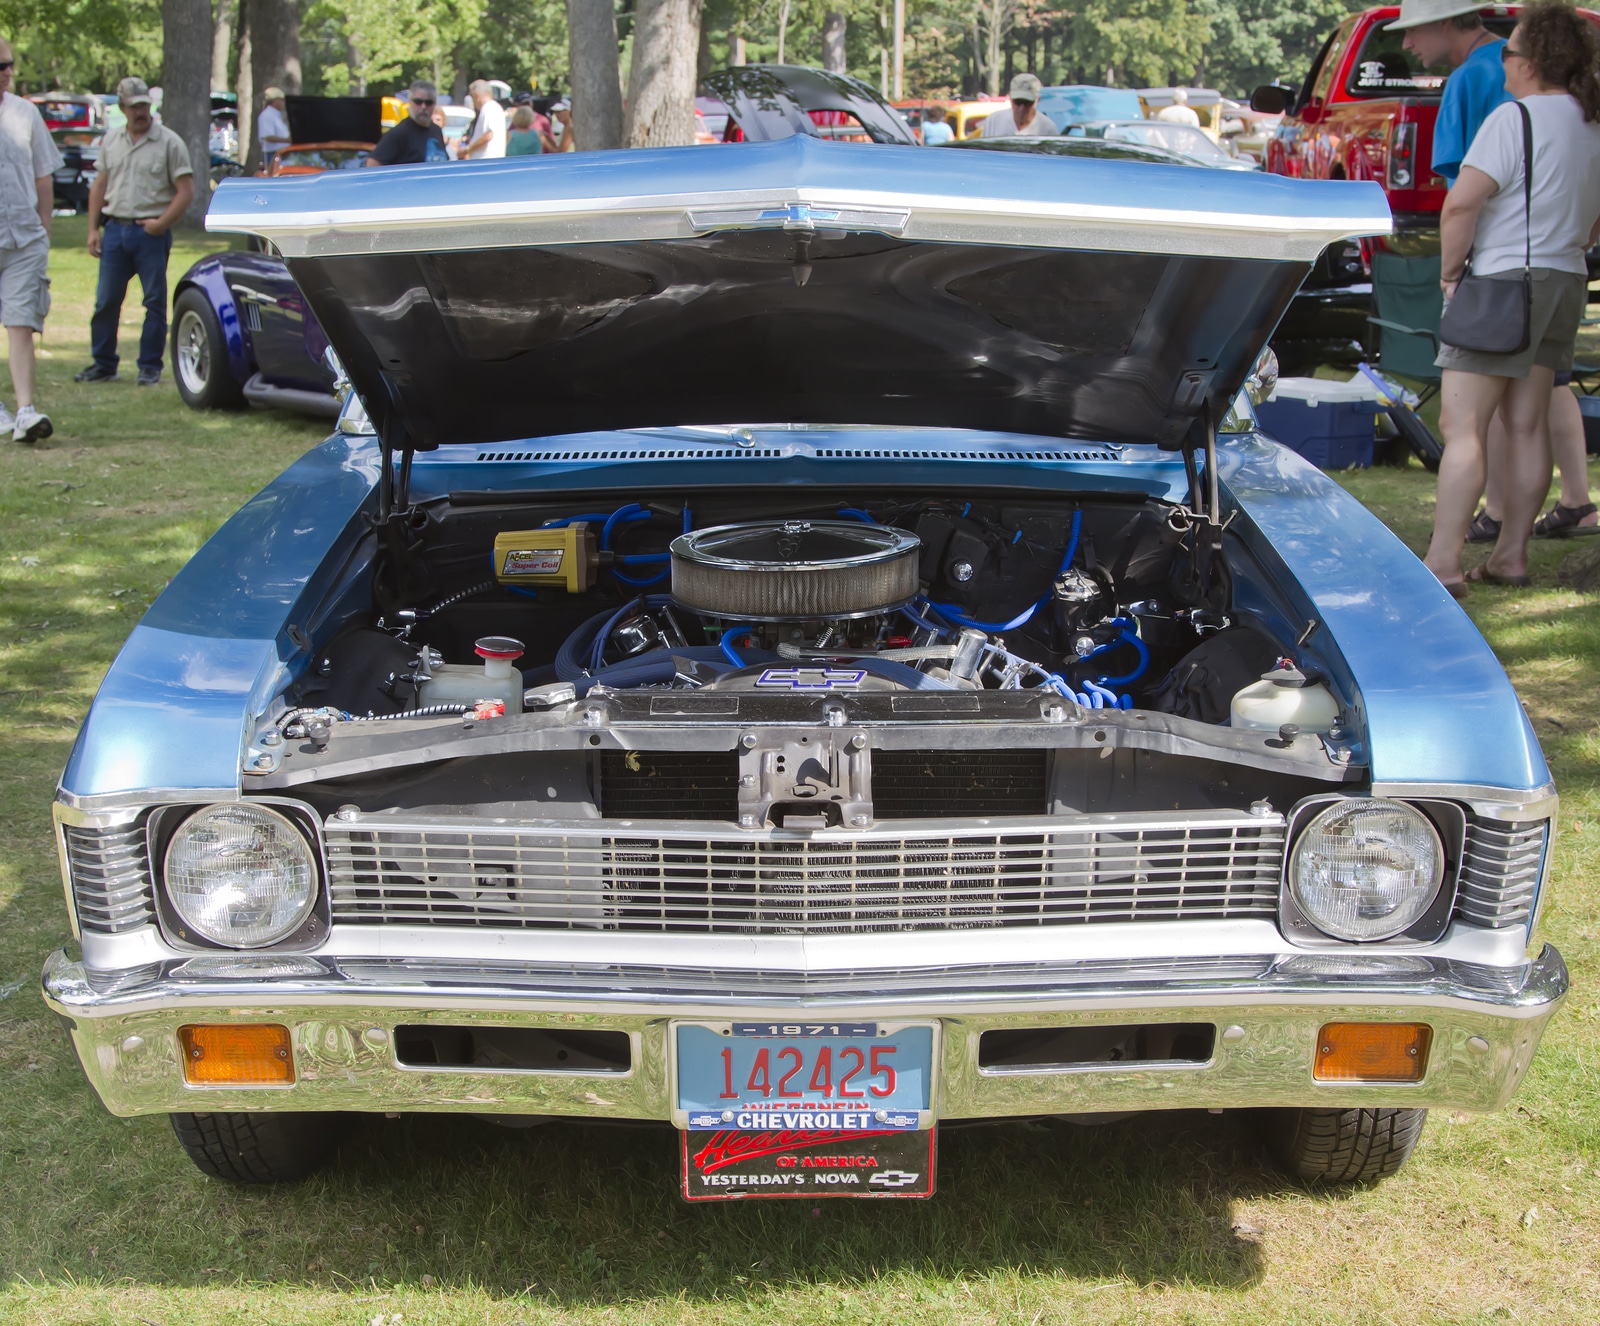
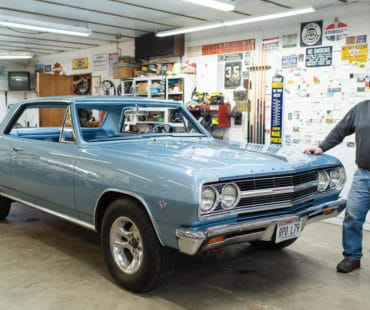
With this mindset, we decided to try a couple of experiments. After experiencing some unusually hard starts with our ’65 283-powered Nova wagon, we decided to upgrade to a mini starter and new MSD ignition. Thankfully, mini-starters are coming down in price these days. However, look out for the really cheap ones that you cannot rebuild or have repaired.
Benefits of a mini-starter
These small-in-size, yet big-in-torque starters help in many different ways. One of the biggest benefits is that since V-8-equipped Novas have confined engine compartments, using a small starter will keep the solenoid away from the hot exhaust. Additionally, they are more efficient in starting power, since they have gear reduction.
Remember, before installing one of these starters to always remove the battery cable! Installing the starter is pretty much cut and dry and most of us have done this procedure before. The mini-starter, our part number (01049), is for the small flywheel (153 tooth) and comes with a stock solenoid, so the wiring setup is the same.
Installing an MSD ignition
Installing the new MSD ignition is a little more involved. After taking off the old distributor’s cap, remove the spark plug from the #1 cylinder and rotate the engine until the top dead center (TDC) mark on the balancer lines up with the mark on the timing cover. Make sure that the rotor is pointing at the #1 spark plug terminal and then remove all the plug wires from the cap.
At this time you can also take the wires from the ignition coil and remove the coil and its bracket, as it won’t be reused. Next, remove the distributor’s hold-down clamp and bolt, then pull the stock distributor out of the engine block.
To install, make sure that you coat the new distributor’s cap gear with the grease that is included in the MSD kit. Install a new distributor gasket and stab the new distributor housing into the engine. Be sure that the oil shaft fully engages into the bottom of the distributor’s gear and that the rotor is lined up with #1 cylinder.
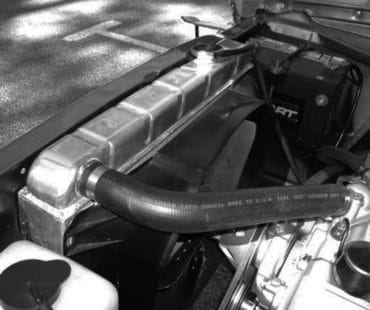
Those who are seasoned mechanics know how this sometimes can be tricky! Install the new coil and bracket. The distributor comes with a pigtail plug so wiring is simple. You need a hard-fused 12v supplied from the fuse box. Remove the old plug wires and fuse to measure the new ones for length. Reinstall the plug wires and secure away from exhaust etc. After firing the engine, check the timing and you’re set.
This MSD distributor we used on our project is called the “ready to run billet distributor” and is well worth the effort. You can use the stock distributor cap on this, but when you do, the points window will be pointing toward the rear. This will still give you the non-race look if you do not mind the window missing. You can use the MSD cap. The wires supplied with the kit come with different style plug ends so they will work with either cap. Finally, to maintain a stock appearance, we painted the MSD coil black.
Parts needed for this project:
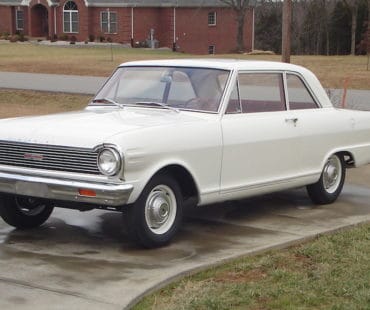
- Chevrolet Mini Starter V8 with a small flywheel 153 tooth for ’62-’72 Nova’s


Leave a Reply